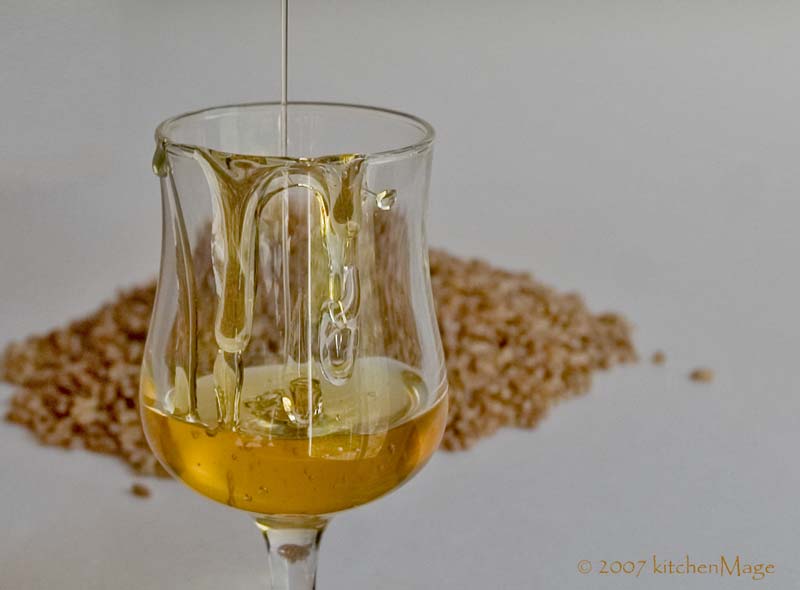
 He’s as sweet as Skamokawa honey
Just like honey from the bee.
Tupelo Honey, with apologies to
Van MorrisonSometimes it is, as the kids say,
all about the boy.
We all know people who have done odd things for love: run up multi-thousand phone bills, changed names and careers, moved to a city they would never have considered otherwise, or tried to replicate a mass-market loaf of bread.
Um, yeah.
Although Kevin once referred to me as one of the technicians here, I am truly a member of the magical improvisation class – hence the
kitchenMage name. It’s just that I study theory natively and, having been in the kitchen since I was tippy-toe to a flour bin, I have learned many aspects of theory well enough to look technical even while making it up as I go along. (
note to kids: this is a handy skill, useful in many areas of life: cultivate it)
Sure, I use recipes... every now and then. Sometimes I even use the same amount of the various ingredients as the person who wrote the book. Not always, though — I often use recipes only to provide a rough outline, which I gleefully color outside of. Truth be told, I have had to force discipline on myself to solidify a recipe long enough to post it here.
As you might imagine, I am not a huge fan of deconstructed "famous recipes." I am not likely to buy most prepackaged food, why on earth would I want to go to the effort of creating my very own homemade version of that stuff?
But then there was
the boy.
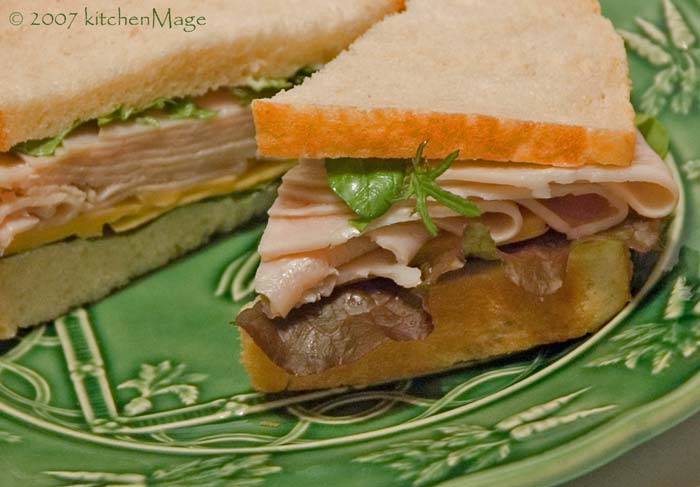
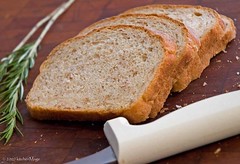
This person, who shall remain 'nymless, was raised on Oroweat Honey Wheat Berry Bread, developing a deep and abiding affection for the stuff. I can see why: as commercial sandwich loaves go, it's pretty good. Dense but not heavy, a hint of sweetness and a rich taste of grain, it is particularly good toasted with a smear of butter and honey. So while it just kills me to pay three bucks a loaf for sandwich bread, I did. For quite a few years.
 Then Oroweat started making a fluffier version — wider slices, a bit more yeast, lighter color and flavor. Sold it in two-packs at Costco at a fairly reasonable price. Just one problem: it tastes like cheap, fluffy bread you buy in two-packs.
Now the old stuff — the good stuff — is hard to find and closer to $4 a loaf when you can lay hands on it. Clearly, something had to be done and about five years ago, I decided to. That's a long time to work on a single recipe, but it was worth it.
There is, after all, the boy. And he likes it.
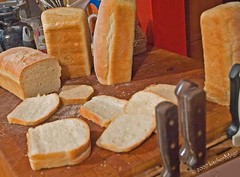
kitchenMage’s Honey wheatBerry Bread
This recipe makes two large (slightly over 2 pound) loaves or ~18
US Volume metric Volume US Weight metric Weight
water 3 cups 800 ml 24 ounces 675 grams
Wheat berries 3/4 cup 175 ml 5 ounces 140 grams
Milk, room temp 3/4 cup 175 ml 6 ounces 170 grams
Whole wheat flour 1 cup 235 ml 4 1/2 ounces 125 grams
instant yeast 1 tablespoon 15 ml 3/8 ounce 12 grams
Honey 1/4 cup 60 ml 3 ounces 84 grams
Butter 1/4 cup 60 ml 2 ounce 56 grams
Bread flour 6 1/2 cups 1525 ml 29 1/4 ounces 820 grams
salt 1 tablespoon 15 ml 1/2 ounce 15 grams
Note: Each batch of wheat berries I get seems to cook in a different amount of time and absorb a different amount of water. This means that, more than many bread recipes, you may need to adjust the flour on this each time you make it. I add ~5 cups to start and then sprinkle more in as it mixes in the kitchenAid. Most of the time, I end up using ~6 1/2-7 cups, but your mileage, as always, may vary.
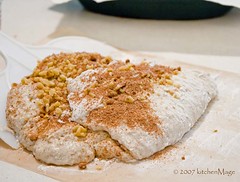
Preparing the wheat berries
Combine wheat berries and 3 cups of water in a medium sauce pan. Cover and set aside to soak for an hour. After an hour, leave pan covered and cook on medium heat, stirring occasionally, until wheat berries are soft and popping open. The water level will be reduced by ~1/2 cup and the wheat berries will be fat and soft. Let cool and prepare for use in dough — see sidebar for more information.
Do you like your wheat berries smooth or chunky?
There are two distinctive states of wheat berries: smooth and chunky. You need to decide which form you want your wheat berries to take and prepare them differently based on your desired results.
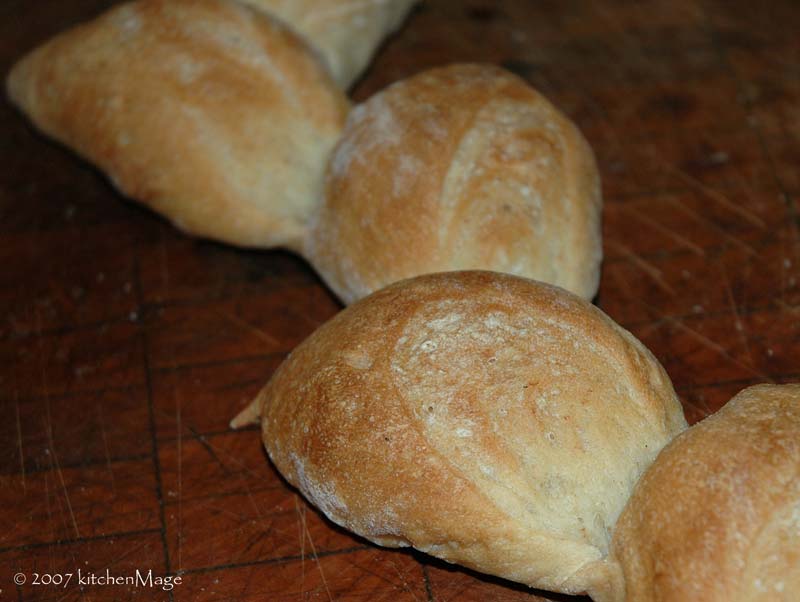
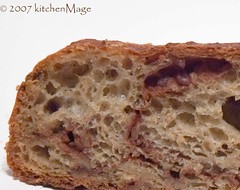
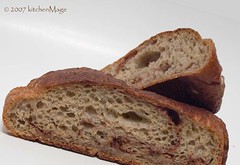
On one end of the continuum, there is the nuts-and-seeds style of bread, with fairly intact wheat berries. While I like this effect occasionally, particularly when making rolls (add a smidge more yeast, too), the berries have a tendency to stick out of the dough and aren't what I usually want from this bread.
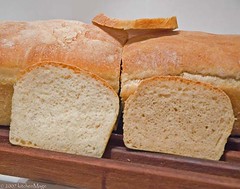
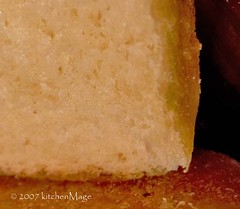
Totally opposite this is the Oroweat bread that set me on this quest. This bread, oddly enough, has no discernible wheat berries, something which I always attributed to superior industrial wheat berry smooshing technology — I think I pictured something involving oompa loompas — but now I know the truth. There are no wheat berries in their bread! In fact, the first ingredient is cracked wheat! Go figure.
Lacking superior oompa-loompa based technology, the easiest way I have found to smoosh these babies is with an immersion blender. A regular blender works reasonably well, but I was less impressed with the results from the food processor.
In any case, let the cooked wheat berries cool to body temperature, ~100F (38C) and then smoosh, or not, to your heart’s content.
Mixing the dough
In mixing bowl, combine wheat berries, milk, yeast and whole wheat flour. Mix until well combined, cover and set in a warm spot until bubbly, 20 - 30 minutes.
Add the softened butter, honey and 5 1/2 cups of bread flour. Mix until it forms a shaggy mass. Continue to add flour, a tablespoon or two (or more at first), until the dough stops readily absorbing it. Mix for another minute, two if mixing by hand. The dough will still be a bit rough. Cover and let rest on the counter for 20 minutes.
If you are using a mixer: Add salt. Use the dough hook and mix it on medium for ~5 minutes, adding more flour a tablespoonful at a time, if needed, until the dough is fairly smooth. Turn it out on a well-floured counter and knead for a few minutes, until the dough is like a baby's bottom — given the wheat berries, perhaps it’s a baby with diaper rash. (sorry)
If you are making the dough by hand: Add salt. Spread a cup of flour on the counter and knead for 4 - 5 minutes, adding more flour if needed. Knead until the dough is, um, ready as described, perhaps a bit too graphically, above.
 Roll the dough in flour, put it in a clean bowl, cover and let rise until doubled in bulk (about an hour).
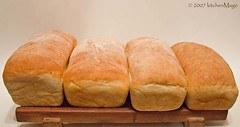
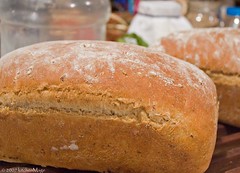
Turn the dough out on a lightly floured counter, divide in half and shape into loaves. Grease two loaf pans. Put the shaped loaves in the pans and let rise until doubled in bulk (about an hour).
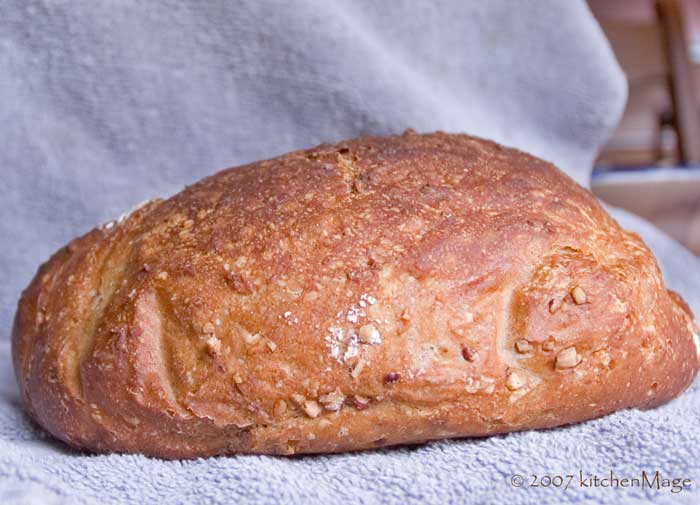
Preheat oven to 375F (175C). Bake bread for 45 minutes or until golden brown (~195F/90C internal temperature). Turn out of pans onto cooling rack for at least an hour.
Complete flickr set of kitchenMage's Honey wheatBerry Bread
Labels: Beth, kitchenMage, sandwich bread, wheat berries
Click here to continue reading the post and comments...